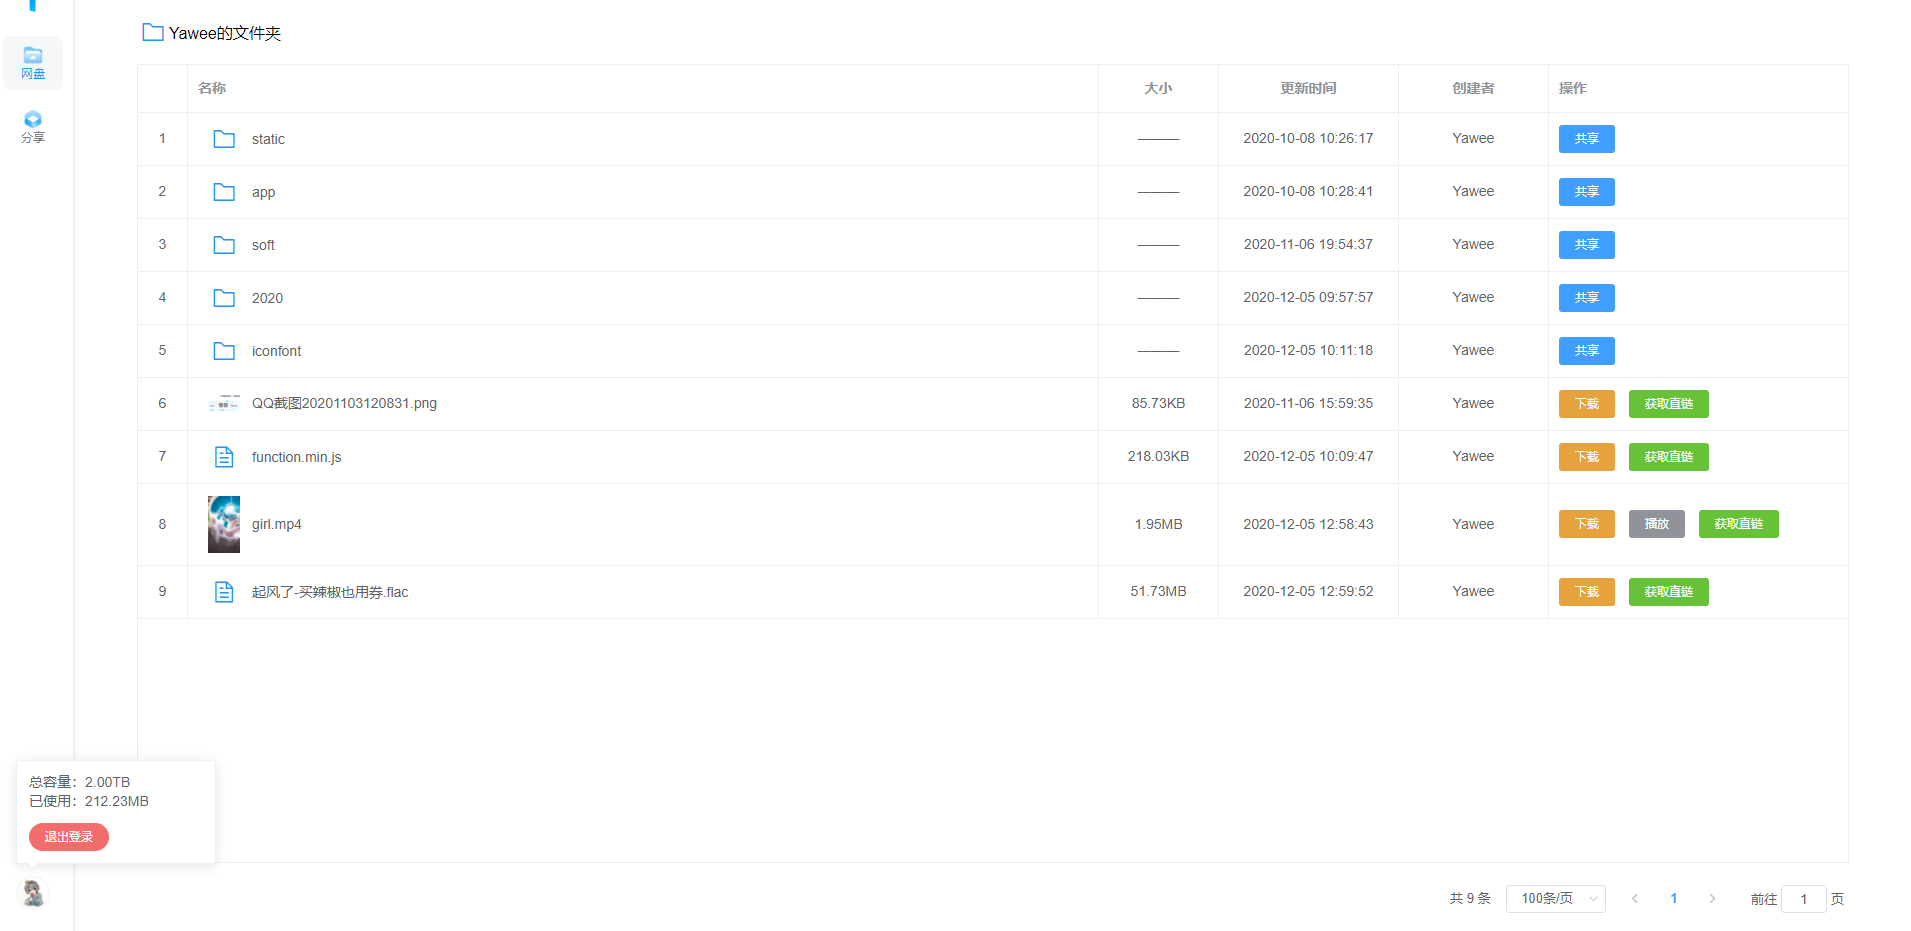
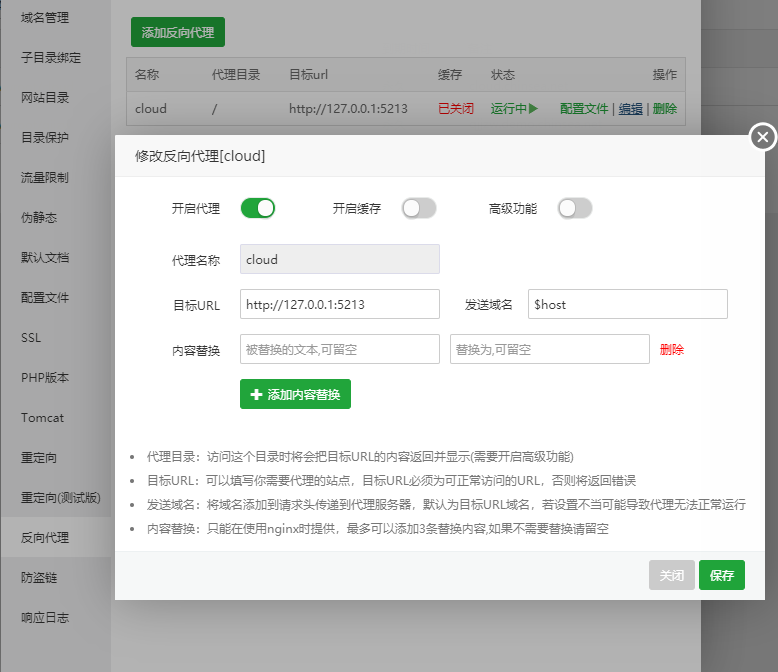
Loading... 网盘直链解析,就是将网盘的下载链接转为一个其他用户可以直接访问下载的链接,对于我们开发者来说,可以直接用直链在项目中引用一些静态文件,达成节约成本的目的。 之前有使用过基于onedrive、天翼云盘的直链程序,今天吾爱破解的大佬[badyun](https://www.52pojie.cn/home.php?mod=space&uid=569763)发布了这个基于nodejs开发的Teambition网盘的直链解析系统,原帖在这里:[灰机直达](https://www.52pojie.cn/forum.php?mod=viewthread&tid=1320716),然后博主就立马Mark并将程序跑起来,测试地址:[https://list.cxcf.cf](https://list.cxcf.cf),下面是基于本直链解析系统的音乐播放测试(51.7M的flac无损格式,不支持ios播放): <div class='handsome_aplayer' data-preload="auto" data-autoplay="false" data-listMaxHeight="340px" data-order="list" data-title="起风了" data-author="买辣椒也用券" data-url="https://list.cxcf.cf/file/5f5587dd713a00aab2e52337/62eea067bfebeb47189ee243938a46b1/%E8%B5%B7%E9%A3%8E%E4%BA%86-%E4%B9%B0%E8%BE%A3%E6%A4%92%E4%B9%9F%E7%94%A8%E5%88%B8.flac" data-size="large" data-auto="false"> <div class="handsome_aplayer_music" data-name="起风了" data-artist="买辣椒也用券" data-url="https://list.cxcf.cf/file/5f5587dd713a00aab2e52337/62eea067bfebeb47189ee243938a46b1/%E8%B5%B7%E9%A3%8E%E4%BA%86-%E4%B9%B0%E8%BE%A3%E6%A4%92%E4%B9%9F%E7%94%A8%E5%88%B8.flac" data-cover="" data-lrc=""></div> </div>   ## 安装方法: #### Linux服务器 依次执行如下代码(备用地址:`https://cloud.chinsea.net/directlink/1/sourceCode/program/teambition/app`) ``` mkdir teambition && cd teambition wget https://one.blob.core.chinacloudapi.cn/badyun/teambition/v0.01/app chmod +x ./app ./app ``` 然后访问`http://你的ip:5213`即可 **反向代理设置** 在你的服务器新建一个主机,根目录对应到你的teambition目录,就是让绑定的域名指向到你的teambition目录,然后在网站配置文件中设置nginx或apache反代 <div class="tab-container post_tab box-shadow-wrap-lg"> <ul class="nav no-padder b-b scroll-hide" role="tablist"> <li class='nav-item active' role="presentation"><a class='nav-link active' style="" data-toggle="tab" aria-controls='tabs-f0ed167e374eeb88c59fa37fd5609b63750' role="tab" data-target='#tabs-f0ed167e374eeb88c59fa37fd5609b63750'>nginx</a></li><li class='nav-item ' role="presentation"><a class='nav-link ' style="" data-toggle="tab" aria-controls='tabs-adfec53ef5a3c0bb17c3bde230718da1961' role="tab" data-target='#tabs-adfec53ef5a3c0bb17c3bde230718da1961'>apache</a></li> </ul> <div class="tab-content no-border"> <div role="tabpanel" id='tabs-f0ed167e374eeb88c59fa37fd5609b63750' class="tab-pane fade active in"> 在网站的`server`字段中加入: ``` location / { proxy_set_header X-Forwarded-For $proxy_add_x_forwarded_for; proxy_set_header Host $http_host; proxy_redirect off; proxy_pass http://127.0.0.1:5213; } ``` </div><div role="tabpanel" id='tabs-adfec53ef5a3c0bb17c3bde230718da1961' class="tab-pane fade "> 在`VirtualHost`字段下加入反代配置项`ProxyPass`,比如: ``` <VirtualHost *:80> ServerName teambition ServerAdmin Yawee DocumentRoot /你的安装路径/teambition AllowEncodedSlashes NoDecode ProxyPass "/" "http://127.0.0.1:5213/" nocanon </VirtualHost> ``` </div> </div> </div> 推荐使用宝塔面板一键配置  **进程守护可以使用nohup或Systemd** **nohup:** ```` nohup ./app ```` **Systemd(推荐):** 首先新建一个systemd配置文件 ``` vim /etc/systemd/system/teambition.service ``` 输入以下代码保存: ``` [Unit] Description=teambition Documentation=https://yaw.ee After=network.target Wants=network.target [Service] WorkingDirectory=/你的安装路径 ExecStart=/你的安装路径/app Restart=on-abnormal RestartSec=5s KillMode=mixed StandardOutput=null StandardError=syslog [Install] WantedBy=multi-user.target ``` 配置命令: ``` # 更新配置 systemctl daemon-reload # 设置开机启动 systemctl enable teambition # 启动服务 systemctl start teambition # 停止服务 systemctl stop teambition # 重启服务 systemctl restart teambitionve # 查看状态 systemctl status teambition ``` #### win服务器 直接下载运行此可执行文件即可: [https://one.blob.core.chinacloudapi.cn/badyun/teambition/v0.01/app.exe](https://one.blob.core.chinacloudapi.cn/badyun/teambition/v0.01/app.exe) 备用地址:`https://cloud.chinsea.net/directlink/1/sourceCode/program/teambition/app.exe` 最后修改:2020 年 12 月 05 日 03 : 07 PM © 允许规范转载 赞赏 如果觉得我的文章对你有用,请随意赞赏 赞赏作者 支付宝微信